HAPPY NEW YEAR EVERYONE!!
Now that the Christmas and New Year season is over, your trash bin must be full of empty soda bottles! I know ours was (haha). You can turn those 1-1.5 L bottles into a hanging hydroponic and container garden by following the instructions in this entry. You may also use 2L bottles as well!
This is a great way to recycle plastic bottles and a wonderful activity you can do with the kids too! Not to mention how good it looks once you finally have them set up.
Materials you'll need for this activity are:
- Empty soda bottles: 1L - 1.5/2L bottles
- White enamel paint: this is used to keep sunlight from entering the bottles. If sunlight does enter, algae will start to form. For hydroponics, this wont be a good thing since it'll compete for nutrients as well as contaminate the water.
- Cutter/blade
- Paint brush and thinner
- Soldering Iron
- Growing medium :
- for hydroponics- a mix of vermicompost & rice hull. If you dont have any access to this, then perlite, gravel, coco coir, rock wool, clay pellets or a soil-less potting mix will do.
- for container gardening - a mix of vermicompost & rice hull make a good potting mix. Mixing in some chicken manure, guano, leaf compost, kitchen wastes or garden soil will also be a good medium.
- Styrofoam cups
- Live seedlings: this is important in the hydroponic aspect. You need live seedlings to place into the set up. As for container gardening, live seedlings will adjust better to the environment since the amount of growing medium is low and the heat may cause sprouting seeds to wither quickly.
- Garden gloves
- Nylon rope : any color will do.
PREPARING THE SODA BOTTLES:
HANGING HYDROPONIC SET UP:
- Turn on your soldering iron and wait a few minutes for it to heat up
- Using a blade, cut out a 2 inch diameter hole on both ends of the surface of the bottle. I, personally, use the soldering iron to melt a circle out of it since blades/cutters are kinda tricky to work with when cutting out any curves. NOTE TO SELF: When using your blade, make sure to "CUT AWAY FROM YOUR SELF". Kids! If make sure you get an adult to do all the steps that require the cutter/blade. Ensure a distance of about 2 inches or more between the holes.
- With your soldering iron, melt a hole on both ends of the top surface of the bottles. This is where you'll tie your nylon rope through when hanging it.
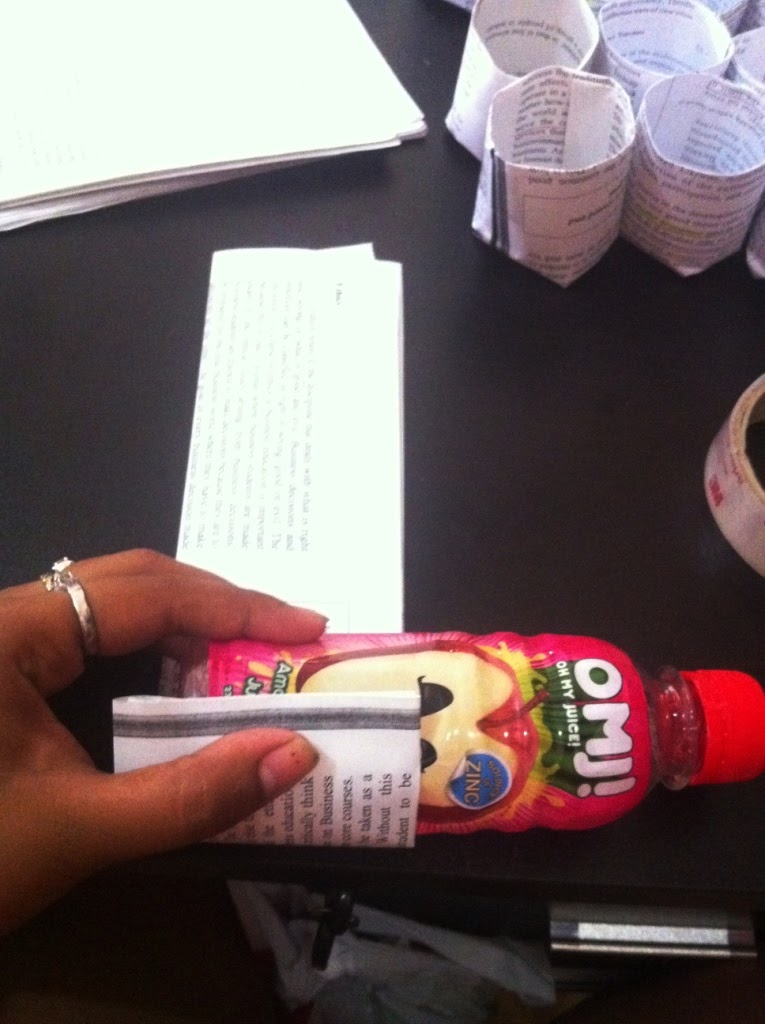
- Take your styrofoam cup and cut 4 triangles at the bottom. This is where the plant's roots will eventually grow out of and into the nutrient enriched water
- Fill the cup half way with your chosen growing medium.
- Make an indent in the middle of the medium. Deep enough to reach the bottom of the cup
- Place your live seedling into the indent and cover the roots with the medium. This is what we'll call a 'seedling plug'.
- Take your soda bottle and cut the nylon rope into 2 pieces, about 4-5inches each (it can be longer or shorter, depending on how high/low you want to tie your bottle).
- Insert one rope inside the holes you made on one end of top surface of the bottle (refer to step 3).
- Tie a single or double knot to lock one end inside the bottle, keeping it from coming through when pulled on.
- Repeat step 10 on the other end of the bottle.
- Find a well lit area against your fence and tie the bottle against it. Make sure that each side is even. Adjust the rope knots where necessary.
- Mix your nutrient enriched water. The nutrients we sell, the ratio is 25ml set A & 25ml set B to 10-12L of water.
- Pour in about 0.5-0.75 liter of water. It should fill about half way.
- Take 2 seedling plugs and place it in the 2 slots (refer to step 2)
- Check if the bottom 1/8th of the cups are touching the water.
And you're done! Maintain your hydroponic set up by checking everyday if the water levels have lowered due to evaporation. Since you're plants are still seedlings, they'll be a little sensitive to drying out, so check up on them as much as you can. Refill the bottle when you notice that water levels have dropped. Once roots have grown own, maintain a water level where the bottom roots are partially submerged in the water.


HANGING CONTAINER GARDEN:
- Take your painted bottle and your cutter. Cut a long rectangle on the top surface of the bottle. Leave about 1 inch from the edge. This is where your holes will be for the nylon rope to go through. Don't cut the entire top off. NOTE TO SELF: Cut away from yourself!
- Turn on your soldering iron and wait for it to heat up
- With your soldering iron, melt 2 holes on each end of the top surface of the bottle.
- At the bottom surface of your bottle, melt several holes through the bottom. These bottles will allow excess water to flow out when watering and enable good drainage. The more holes, the better.
- Cut the nylon rope into 2 pieces, about 4-5inches each (it can be longer or shorter, depending on how high/low you want to tie your bottle).
- Insert one rope inside the holes you made on one end of top surface of the bottle (refer to step 3).
- Tie a single or double knot to lock one end inside the bottle, keeping it from coming through when pulled on.
- Repeat step 7 on the other end of the bottle.
- Find a well lit area against your fence and tie the bottle against it. Make sure that each side is even. Adjust the rope knots where necessary.
- Fill the inside of the bottle with your compost/ potting medium. You can fill it up as much as you can. The more medium, the more moisture it can hold throughout the day.
- With your finger, make 2 indents on each end of the medium. About 1-2inches deep.
- Take your seedlings and place it in the indents. Cover the roots with the surrounding medium.
And you're done! Spray/water the container 2x a day, preferably early morning and late in the afternoon.
WHAT KIND OF CROPS CAN I GROW IN THIS KIND OF SET UP?
This set up is best for leafy veggies, herbs and small crops. Vine plants (tomatoes, cucumber, pumpkin) may need a larger container while hydroponically, the set up cannot support heavy crops.
Examples of the best plants to grow: lettuce, pechay, kangkong (water spinach), chilli, culinary herbs, etc.
CAN I USE OTHER KINDS OF BOTTLES/CONTAINERS?
Yes, of course! You can do this with ice cream containers and larger containers (oil, soap detergent, water, etc). You can even use your plastic pots in this kind of set up. You may need to apply more nylon on each end to support the weight.
Start recycling those bottles! They're not only easy to clean out, but they look really pretty as a hanging garden, don't they?
You can paint the bottles, decorate them or design their position any way you want to. For the hydroponic bottles, just make sure that the water levels are even. Aside from that, you can design it to any way you prefer. It's your garden, so have fun with it!
'Till next entry!
HAPPY GARDENING!
Ulyssa
http://www.facebook.com/The.Hydro.Garden

.jpg)


